
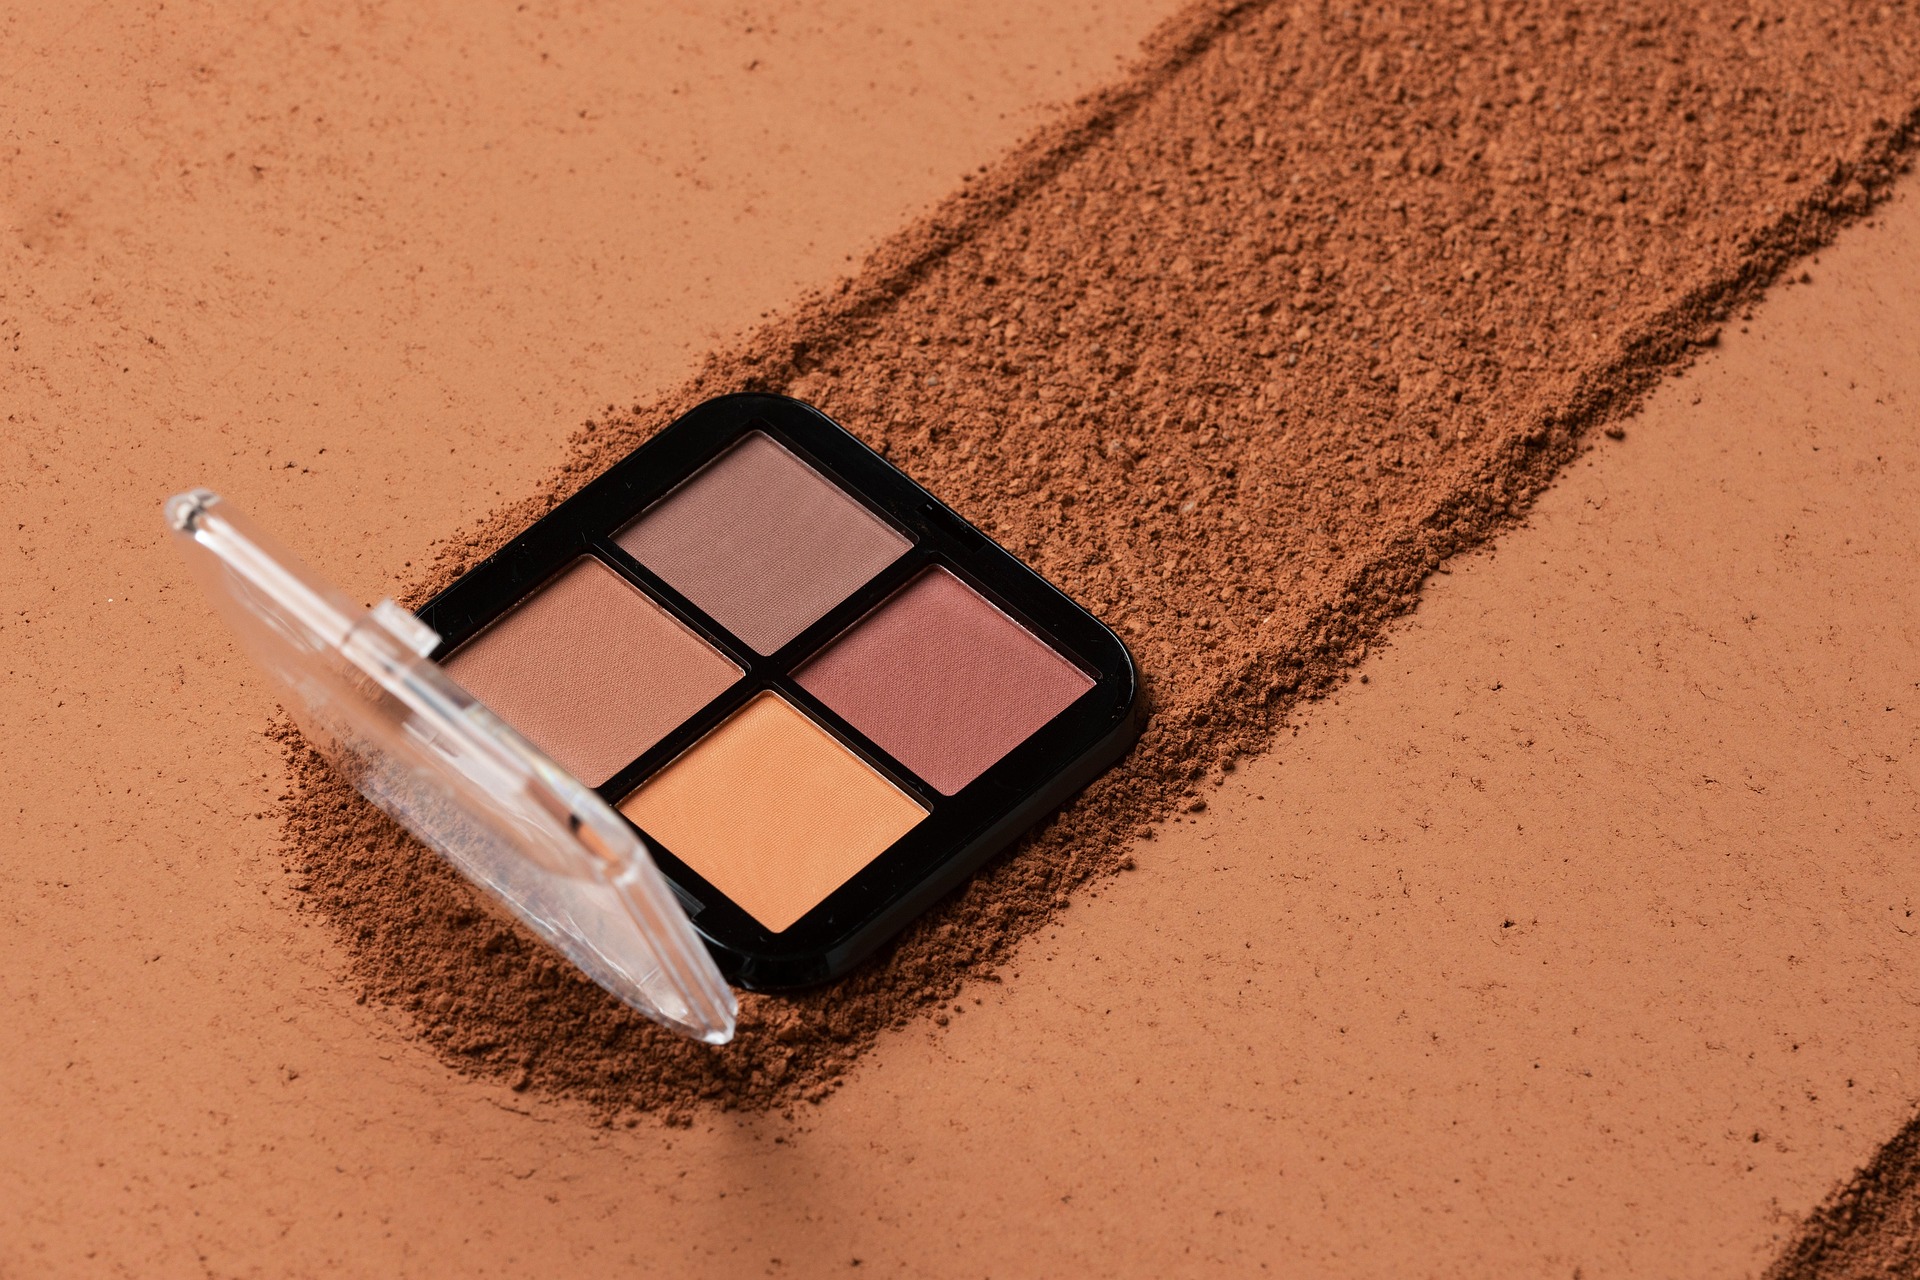
Easy Eye Shadow Tutorial for Fixing Your Makeup Mistakes in Minutes
Struggling to master your eyeshadow? Confused why a look on a friend doesn’t look the same on you? If makeup has ever made you feel frustrated, I will help you feel more confident that you, yes, you, can create a great look. This beginner eyeshadow tutorial will explain the common eye shapes. Then you can follow a step-by-step guide for each eye shape. Get ready to try these easy eyeshadow looks today!
MAKEUPBEAUTY
Pick up any beauty magazine, and you’ll find pages of makeup advice. And when it comes to eye shadow, whew, don’t get me started.
If you have round eyes, do 'X' but not 'Y'. If you have hooded eyes, do 'Y' but not 'X'. And “ mature” eyes shouldn’t wear glitter! Who makes these rules anyway? How is a girl supposed to know what to do and how to do it? Well, fear not, as a former Mary Kay consultant and all-around makeup lover, I have created 5 easy eye makeup tutorials based on eye shape.
If you're wondering what the various eye shapes are and what you have, I have you covered here. I’ve listed the most common eye shapes below, with an explanation of each type and a celebrity example.
1. Mono: No visible eyelid crease as the eyelid fold is at the lashline. It is important to note that while common among people of Asian descent, not all Asians have a monolid, and people of non-Asian descent can have one. Celebrity example: Lucy Liu
2. Hooded: The eyelid doesn’t have a strong or prominent crease because of extra eyelid skin. As a result, the crease is partially or fully covered by the extra skin. Essentially, the crease is not fully visible. Celebrity example: Blake Lively
3. Almond: The whites of your eyes are not visible above and below the iris. Essentially, your eye is shaped like an almond. Celebrity example: Beyoncé.
4. Round: The whites of your eyes are visible above and below the iris. Celebrity example: Elizabeth Olsen
5. Upturned: When drawing an imaginary horizontal line across the middle of your eye, the outside corner of your eye turns up/is above the line. Celebrity example: Rihanna
6. Downturned: When drawing an imaginary horizontal line across the middle of your eye, the outside corner of your eye turns down/is below the line. Celebrity example: Anne Hathaway
The intensity of the eye shape and placement can vary. For instance, the crease on a hooded eye can be more obvious if there is not as much extra skin. I have hooded and almond eyes that are average width apart.
So now that we know the common eye shapes, let's dive into a simple eye makeup look for each shape.
1. Mono - The goal is to add dimension by creating the illusion of a lash line.
a. Apply highlighter along the inner browbone and lower lash line.
b. Apply a neutral shade, such as a blush, to the entire eyelid and blend.
c. Apply a darker shade to the outer corner of the eye vertically to just above where the crease would be if there was one, and into the middle of the eyelid.
d. Blend in a windshield wiper motion
e. Apply eyeliner and smudge it on the outer corners of the eye. Using a lighter eyeliner shade on the lower lashes can help the eye appear more open.
f. Apply mascara.
2. Hooded- The goal is to lift the eyelid and define the crease (creating more space) to open the eye.
a. Apply highlighter along the inner browbone and inner corner of lower lash line.
b. Apply a neutral shade, such as a brown color, to the entire eyelid and blend.
c. Apply a darker shade to the outer corner of the eye horizontally to just above where the crease would be if there were one. Blend in a sideways “v” motion
d. Apply a lighter color eyeliner from the outside corner to the iris and smudge. Use a white eyeliner on the inside of the lower lash line to help the eye appear larger (also called tightlining).
e. Apply mascara
3. Almond – The goal is to create more eyelid space and make the eyes pop.
a. Apply highlighter along the inner browbone and inner corner of the lash line.
b. Apply a mid-toned shade, such as a pink color, from the lash line to the crease and blend.
c. Apply a darker shade from the outer corner of the eye along the crease. Blend in a wiper blade motion, bringing some of the color down along the outside of the eyelid.
d. Apply eyeliner along the upper lash line. Also, use a white or neutral colored eyeliner on the inside of the lower lash line to help the eye appear larger (also called tightlining).
e. Apply mascara
4. Round – The goal is to make the eyes defined and not appear sunken.
a. Color in your eyebrows with a brow brush or color tint to make the eyes look more defined.
b. Apply highlighter along the center of the browbone and inner corner of the lash line.
c. Apply a neutral shade, such as a brown or taupe color, over the entire eyelid and near the browbone.
d. Apply a darker shade to the outer crease to the middle of the iris and blend.
e. Apply eyeliner along the upper and lower lash line. Smudge the eyeliner, but don’t pull it up or out as that elongates the eye (unless you want to elongate the eye!).
f. Apply mascara.
5. Upturned – The goal is to emphasize the eye lift and accentuate the feminine appearance.
a. Color in your eyebrows with a brow brush or color tint to make the eyes look more defined.
b. Apply highlighter along the center of the browbone and inner corner of the lash line.
c. Apply a neutral shade, such as a brown or taupe color, over the entire eyelid and near the browbone.
d. Apply a darker shade to the outer crease and blend toward the template.
e. Apply thin eyeliner along the upper eyelash line, starting at the end of the outer iris. Extend the top eyeliner out and upwards, past the eye, to create a winged eyeliner look.
f. Apply eyeliner to the lower lash line.
g. Apply mascara.
6. Downturned – The goal is to lift the eye and make the eyes appear bigger.
a. Color in your eyebrows with a brow brush or color tint to make the eyes look more defined.
b. Apply a neutral, fleshy shade, such as a brown or nude color, over the eyelid and into the crease.
d. Apply a darker shade to the inner crease and blend to the outer eye corner.
e. Apply the same dark shade to the outer portion of the lower lash line and smudge towards the inner corner or nose.
f. Apply a layer of thin eyeliner along the upper eyelash line, starting at the inner corner and moving outward. Extend the top eyeliner out and upwards, past the eye, to create a winged eyeliner look.
g. Use a white eyeliner on the inside of the lower lash line to lift and open the eye (also called tightlining).
h. Apply mascara.
And voila! Identify your eye shape, and use the above simple steps, and you will have an everyday makeup look you can use on repeat. Once you get comfortable with the basics, experiment with colors, intensity, and boldness, eyeliner vs no eyeliner, and more. The makeup world is yours to explore and experiment with what works best for you.
Have fun!
Follow Kimmcurates on Pinterest for more makeup ideas, getting ready for your day ideas, and makeup how-tos.








Connect
Find simple inspiration and everyday support here.
© 2025. All rights reserved.